How to Vinyl Wrap a Car

To achieve the best wrap, it’s essential to select quality cast vinyl that will conform to all shapes and curves on your vehicle. Make sure your choice has plenty of stretch so it can fit snugly around any irregularities or contours.
Additionally, you should remove any surface damage such as large paint chips, dents, gouges and rust that could bubble or tear the wrap.
Preparation
Before you can begin wrapping, it is necessary to prep the surface of your vehicle. This includes cleaning with soapy water, taking out any obstacles like trim and interior liner, as well as inspecting for paint damage.
Vinyl is a delicate material, easily torn if not handled with care. Therefore, having an effective cutting blade on hand for this job is essential.
Make sure to use a non-contact infrared thermometer to ensure the car and wrap are at the proper temperature. Colder conditions may cause vinyl to shrink or rip, while hot temperatures activate the adhesive too quickly.
Additionally, cutting tape can be used to help you cut vinyl without using a knife. This innovative tool makes cutting vinyl effortless and ensures an exact fit every time. Furthermore, it helps avoid leaving marks on the surface of your vehicle for improved aesthetic appeal.
Applying the Wrap
Vinyl wraps come in an array of colours, finishes and textures. They can be utilized to conceal worn paint, protect healthy paint or simply change up the aesthetic look of a car.
The initial step to a quality application is cleaning the vehicle’s surface. Utilize a degreaser to thoroughly remove any dirt or grime from this area.
Once the surface is clean, an installer will measure and cut vinyl wrap to fit perfectly on your vehicle’s body panels. They’ll also take away any bumper covers, headlights or taillights in order to make room for the wrap.
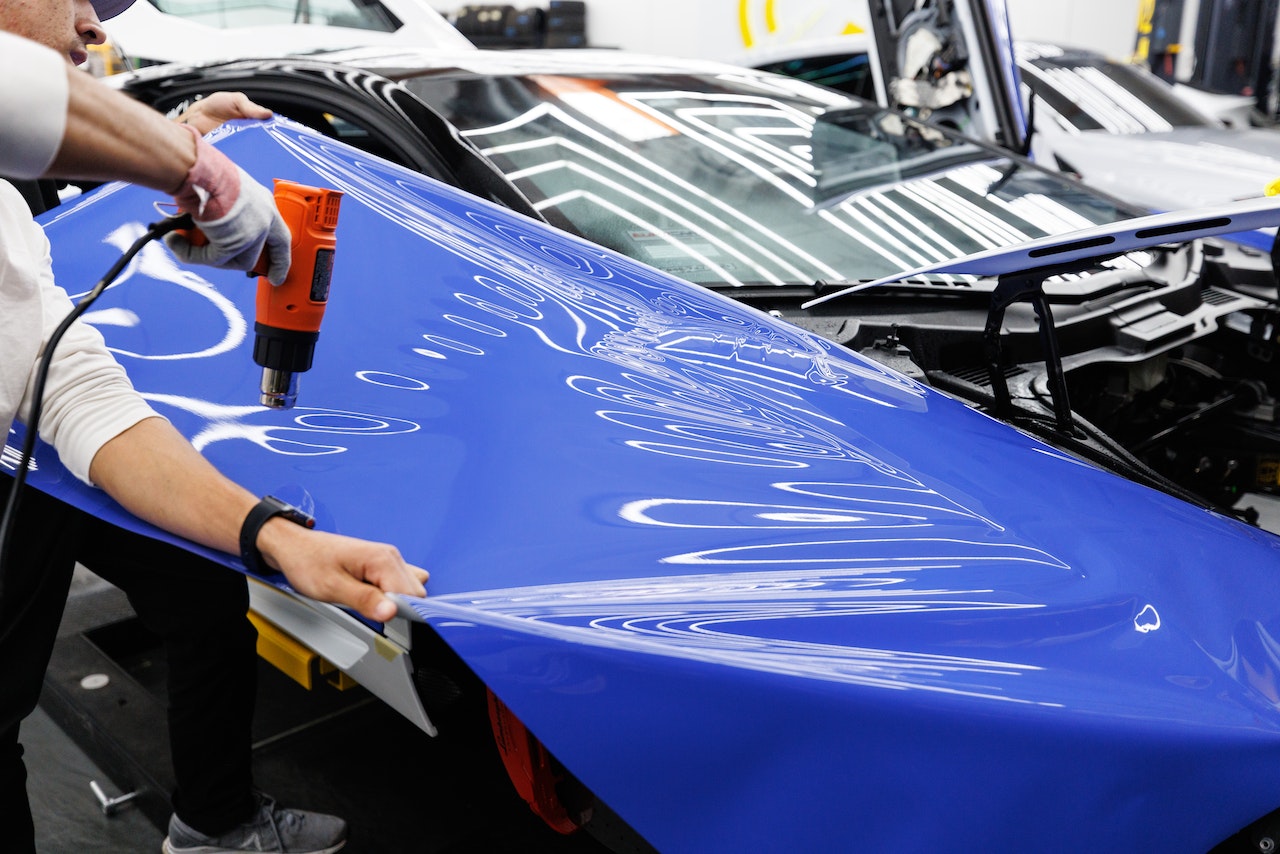
They will apply the wrap to the body of a vehicle using a heat gun, making the material more malleable so it can conform precisely to any contours.
Once the wrap has been applied, an installer should use a soft felt squeegee to release any air pockets and ensure a reliable installation for long-lasting durability. This step is essential for successful, long-lasting results.
Sealing the Wrap
Vinyl wraps are an ideal solution for those who want to transform the appearance of their car without repainting. With such a wide variety of colors, finishes and textures available, you can match your vehicle to fit your individual style and personality perfectly.
Vinyl wraps can also be used to replicate carbon fiber, chrome and other materials for a unique look on your vehicle. Unlike paint, however, you have complete freedom to remove it whenever desired.
No matter if you want to change up the color or add some personality, vinyl wraps give your vehicle a distinctive look that you’ll enjoy for years to come.
One of the best ways to protect your vinyl wrap is with a ceramic coating. However, make sure you select an expert grade product specifically designed for vinyl wrap material.
Cleaning the Wrap
Vinyl wraps are an attractive way to give your car a distinctive appearance. Not only do they protect against UV rays, snowfall, rain and dirt particles, but they can also provide some much-needed protection from environmental elements like dirt and grime.
Maintain the aesthetic of your wrap by regularly cleaning it with water hose or using a product designed specifically for vinyl wrap cleaning.
The correct cleaners and polishes will effectively eliminate dirt, grease, road gunk, and other contaminants without harming the vinyl wrap surface. This is especially crucial if your vehicle frequently undergoes harsh cleaning methods like drive-through car washes or automatic car washes with brushes.
Pressure washers can be used for vinyl wrap cleaning, but they must be set at low pressure and not exceed 2000 psi (14 MPa). Furthermore, the angle of the pressure washer must not be shallower than 60 degrees from perpendicular.